How to solve typical Interactive Brokers import issues
If you already setup the Flex queries based on TradingDiary Pro help and you still have not been able to download your transaction history or simply the import fails then the most typical issues are the following:
Interactive Brokers returns “Statement generation in progress”
The reason behind having two similar statements for 30 days and for 365 days is that Interactive Brokers does not provide a date filter on their application programming interface. The software first tries to download the 365 days flex statement. On the next import the last import date is checked if the date is before the 30 days time frame then the 30 days query will be used otherwise the 365 days one. If you have a lot of trades or the Interactive Brokers` servers are simply overloaded generating the statement takes longer. Usually it is done in a couple of minutes thus the import process tries to download the statement after 10, 20 and 30 seconds again. If it fails, then to avoid flooding Interactive Brokers` servers TradingDiary Pro stops the subsequent calls and returns the Import Failed message. In this case you have to wait a couple of hours. According to our users’ experiences the download is much slower on weekends so if you get this message at the weekend you should try to do an import on the next business day.
I keep getting statement generation in progress message for several days
If you are a heavy trader or you have several accounts with a lot of trades your 365 days query exceeds a predefined value (it is not known) Interactive Brokers keeps responding with this message however the problem is somewhere else. Your statement contains too much data for a single download. This needs manual action and you have to cut the statement into separate parts. Please log in to the Interactive Brokers account management. Open the Activity Flex query page (Reports/Activity/Flex Queries). Edit the 365 days query. In the date configuration section change the Last 365 Calendar Days to Select One. Set the date frame to a shorter period. One year back for start date and 3 months later for the end date. Save the Query and click on the Run. Save the XML file. Edit the query again, roll forward the From and the End dates, save the query, run and save the file and so on until you reach the current day. Set the Period back to 365 Days and save the query.
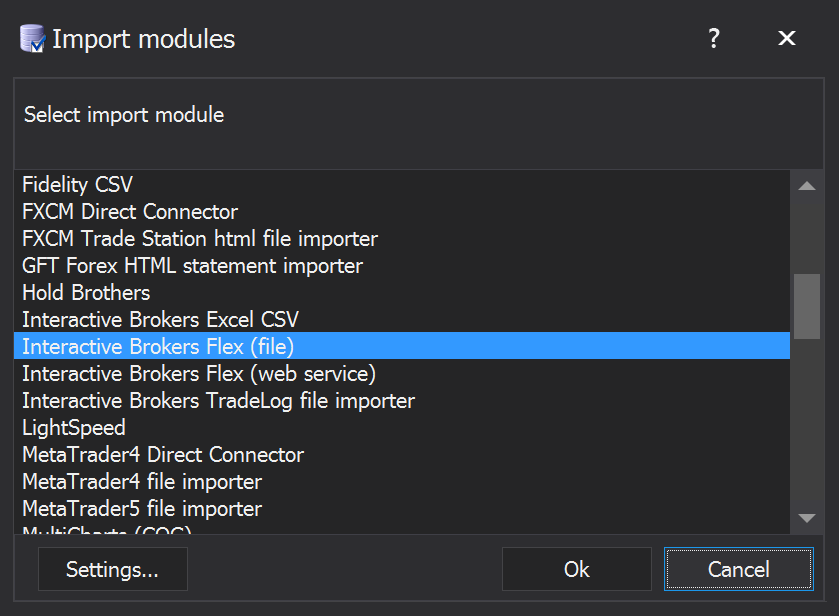
You have several XML files. Start TradingDiary Pro. Click on the Import/Select Import Module menu. In the Import module selector window change the Interactive Brokers Flex (web service) to Interactive Brokers Flex (file).
Close the import module selector and click on the Import/Import – Interactive Brokers Flex XML file. Load the previously loaded files. Set the Import module back to Interactive Brokers Flex (web service).
I’d like to load/import more than 1 year of transactions history back
Please read the previous chapter. The difference is that you have to set the date back to the first available start date. By default Interactive Brokers provides two full years of transaction history. If you do not have too many trades you can load one year time frame at a time. It is very important that the time frames should overlap at least one day otherwise there will be missing trades.
In brief:
As previously mentioned Interactive Brokers provides two full years of transaction history. Let’s say the current date is December 1st 2019 then you can download transactions back to January 1st 2017.
Open the Flex Queries configuration (click on the Reports then the Flex Query tab). Click on the small arrow (highlighted with red in the screenshot).
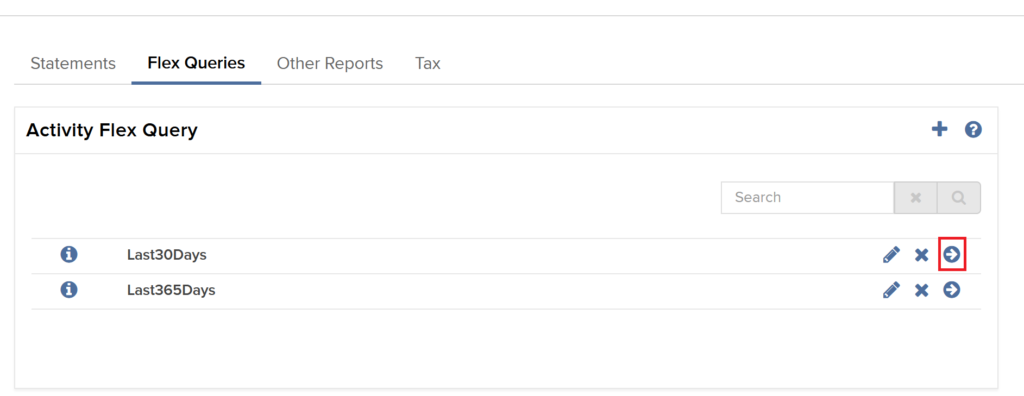
In the opened window change the period to the oldest available date.
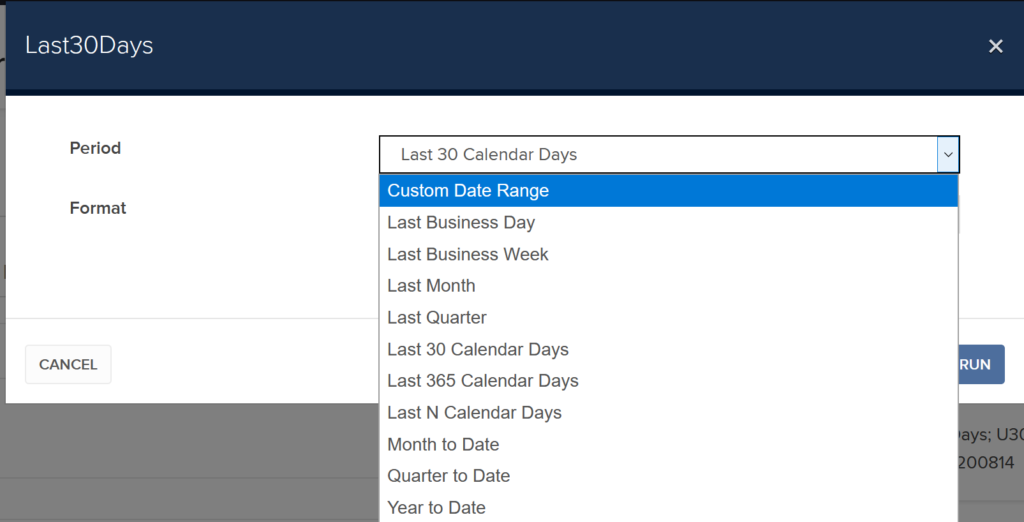
Select the earliest date (January 01, 2017) as from date and a year later (December 31, 2017) as to date. Please note you can download 365 days at a time. Keep the format as XML and click on the Run. Save the XML file. Edit the date range in the query runner window again and move the date range a year forward. Run the query and save the XML.
Open TradingDiary Pro. Click on the Import/Select Import Module menu. Select the Interactive Brokers Flex file from the list. Click Import/Import IB Flex XML File. Load the two previously saved XML file. Once the import has finished, set back the import module to Interactive Broker Flex Web Service and click on the Import/Activity Statement menu.
I’ve got warnings during a successful import

During the first import you may get some warning that the software ignores a couple of trades. What does it mean? If the time frame of the statement is a year then it is possible that you had open trades before the start date of the statement and it was closed in the selected time frame. In this case the software identifies that a transaction is a close trade (except for Forex trades) without an open leg and sets the trades in the database as hidden. Hidden trades are stored but are neither assigned to a position nor added to the reports.
Hidden trades background is orange by default in the Trade Blotter.

Forex conversions are shown as open positions
IB reports Forex conversions as real trades. These trades do not have a close leg, so they stay open. The solution for this is the Hidden Trade feature. Open the Trade Blotter. Look for the Forex conversion trade. These usually have odd shares. Right click on the selected trade and click on hidden menu.
Multiple accounts handling
TradingDiary Pro supports multiple accounts. There is only one restriction: the base currencies of all accounts must be the same. You can even load all accounts’ data with one flex query. Edit the 365 days flex query settings and tick all accounts in the top of the setup. Do so for the 30 days as well. Setup the web service and import data. The software identifies that the query contains more than one statement.

For the first time you have to click on the Update button. This will overwrite the account id in the database. Because by default the software contains one account the software will ask again what to do. It is very important to click on the Create new for all. The software will create the new accounts in the database and assign the appropriate statement to it.